|
 Tron
Restoration Blog Tron
Restoration Blog
Painting The Cabinet
May 23, 2005
Sorry for the lack of updates on this. I have been working on
small items here and there and even started to think about painting
and such. In the last update, you see I had primed the inside
of the cabinet in preparation for painting. I even went ahead
and sprayed that with a few coats of 7777 Rustoleum which did look
pretty darn nice. Then I set out to figure the best way to
paint the rest of the cabinet. Spraying out of a can wasn't
the answer, so using a roller to put it on or buying a decent spray
gun and compressor were my choices. From what I found on the
net, the roller method, while it could work, looked to be a lot of
coats of paint, wet sanding and a ton of time. Spraying looked
possible but involved spending a few hundred dollars on spraying
equipment and supplies to build a paint booth out of tarp in my
garage. Then there was the cost of the paint itself.
Around that time, someone on the rec.games.video.arcade.collecting
usenet newsgroup questioned how much it would cost to take a cabinet
to their local auto body shop and have them do it. Well, I
promptly emailed the guys who repainted my Dodge Stealth at S&A Auto
Body in Woodsboro, Maryland. They told me without seeing it
(at least not in person, they viewed it here online) that it would
be $250. SOLD!
So, I loaded up the minivan last Wednesday and took the cabinet up
to them. On Friday, they told me it was done. I had the
day off and drove up there and picked it up. Let me tell
you... this is the way to go. I NEVER could have pulled off as
good looking a finish as these guys did for my Tron. They even
went as far as checking all my fixes, and applying Bondo to smooth
my work out where necessary. On top of it all, they repainted
the coin door as well! Honestly, it looks almost new and I
couldn't be more pleased.
Primin' n' Fillin' n' Sandin'
n' Hopin'
May 4, 2005
Wasn't that a song by Dusty Springfield?
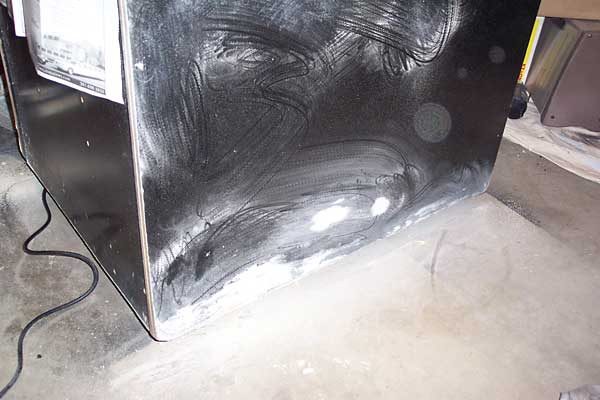
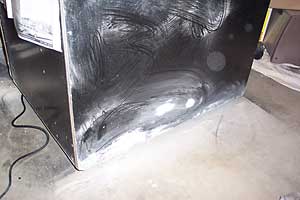
Down to the nitty gritty... literally here. Grabbed some
plastic wood from Home Depot by Elmer's and started filling in dings
or areas damaged by the cabinet never having been placed on it's
legs before coming into my possession. The plastic wood comes
in a tube like toothpaste and spreads like spackling. Very
easy to work with. That swirling? Just Dust.
 Here you can see a fill in job on the front of the cabinet. It
was dinged nicely at some point in it's life, but the plastic wood
and a plastic putty knife (no scratches that way) nicely rebuilt the
corner. Here you can see a fill in job on the front of the cabinet. It
was dinged nicely at some point in it's life, but the plastic wood
and a plastic putty knife (no scratches that way) nicely rebuilt the
corner.
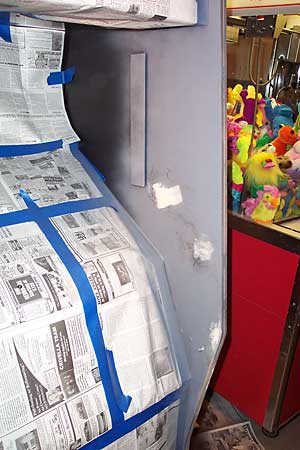
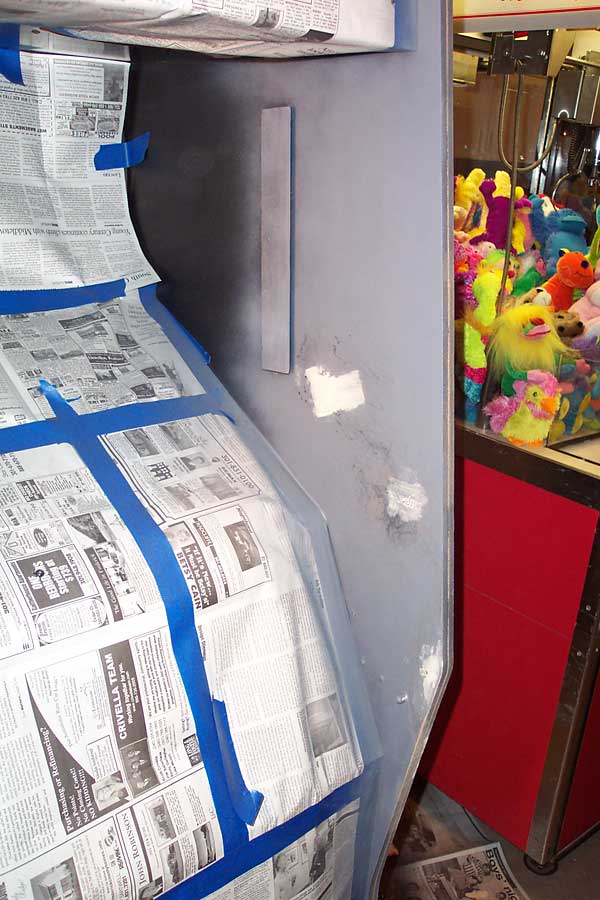
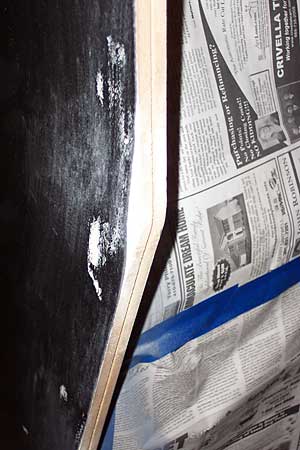
Here you can see the inside of the cabinet with one coat of primer.
should have filled the knicks prior to this but they suddenly became
much more visable in the grey color! A nice sanding with a fine
sanding sponge and another coat of the primer later on covered them
just fine.
Travel back in time to the
the next page
of the project >>
|